Characterization Equipment
Mechanical Properties
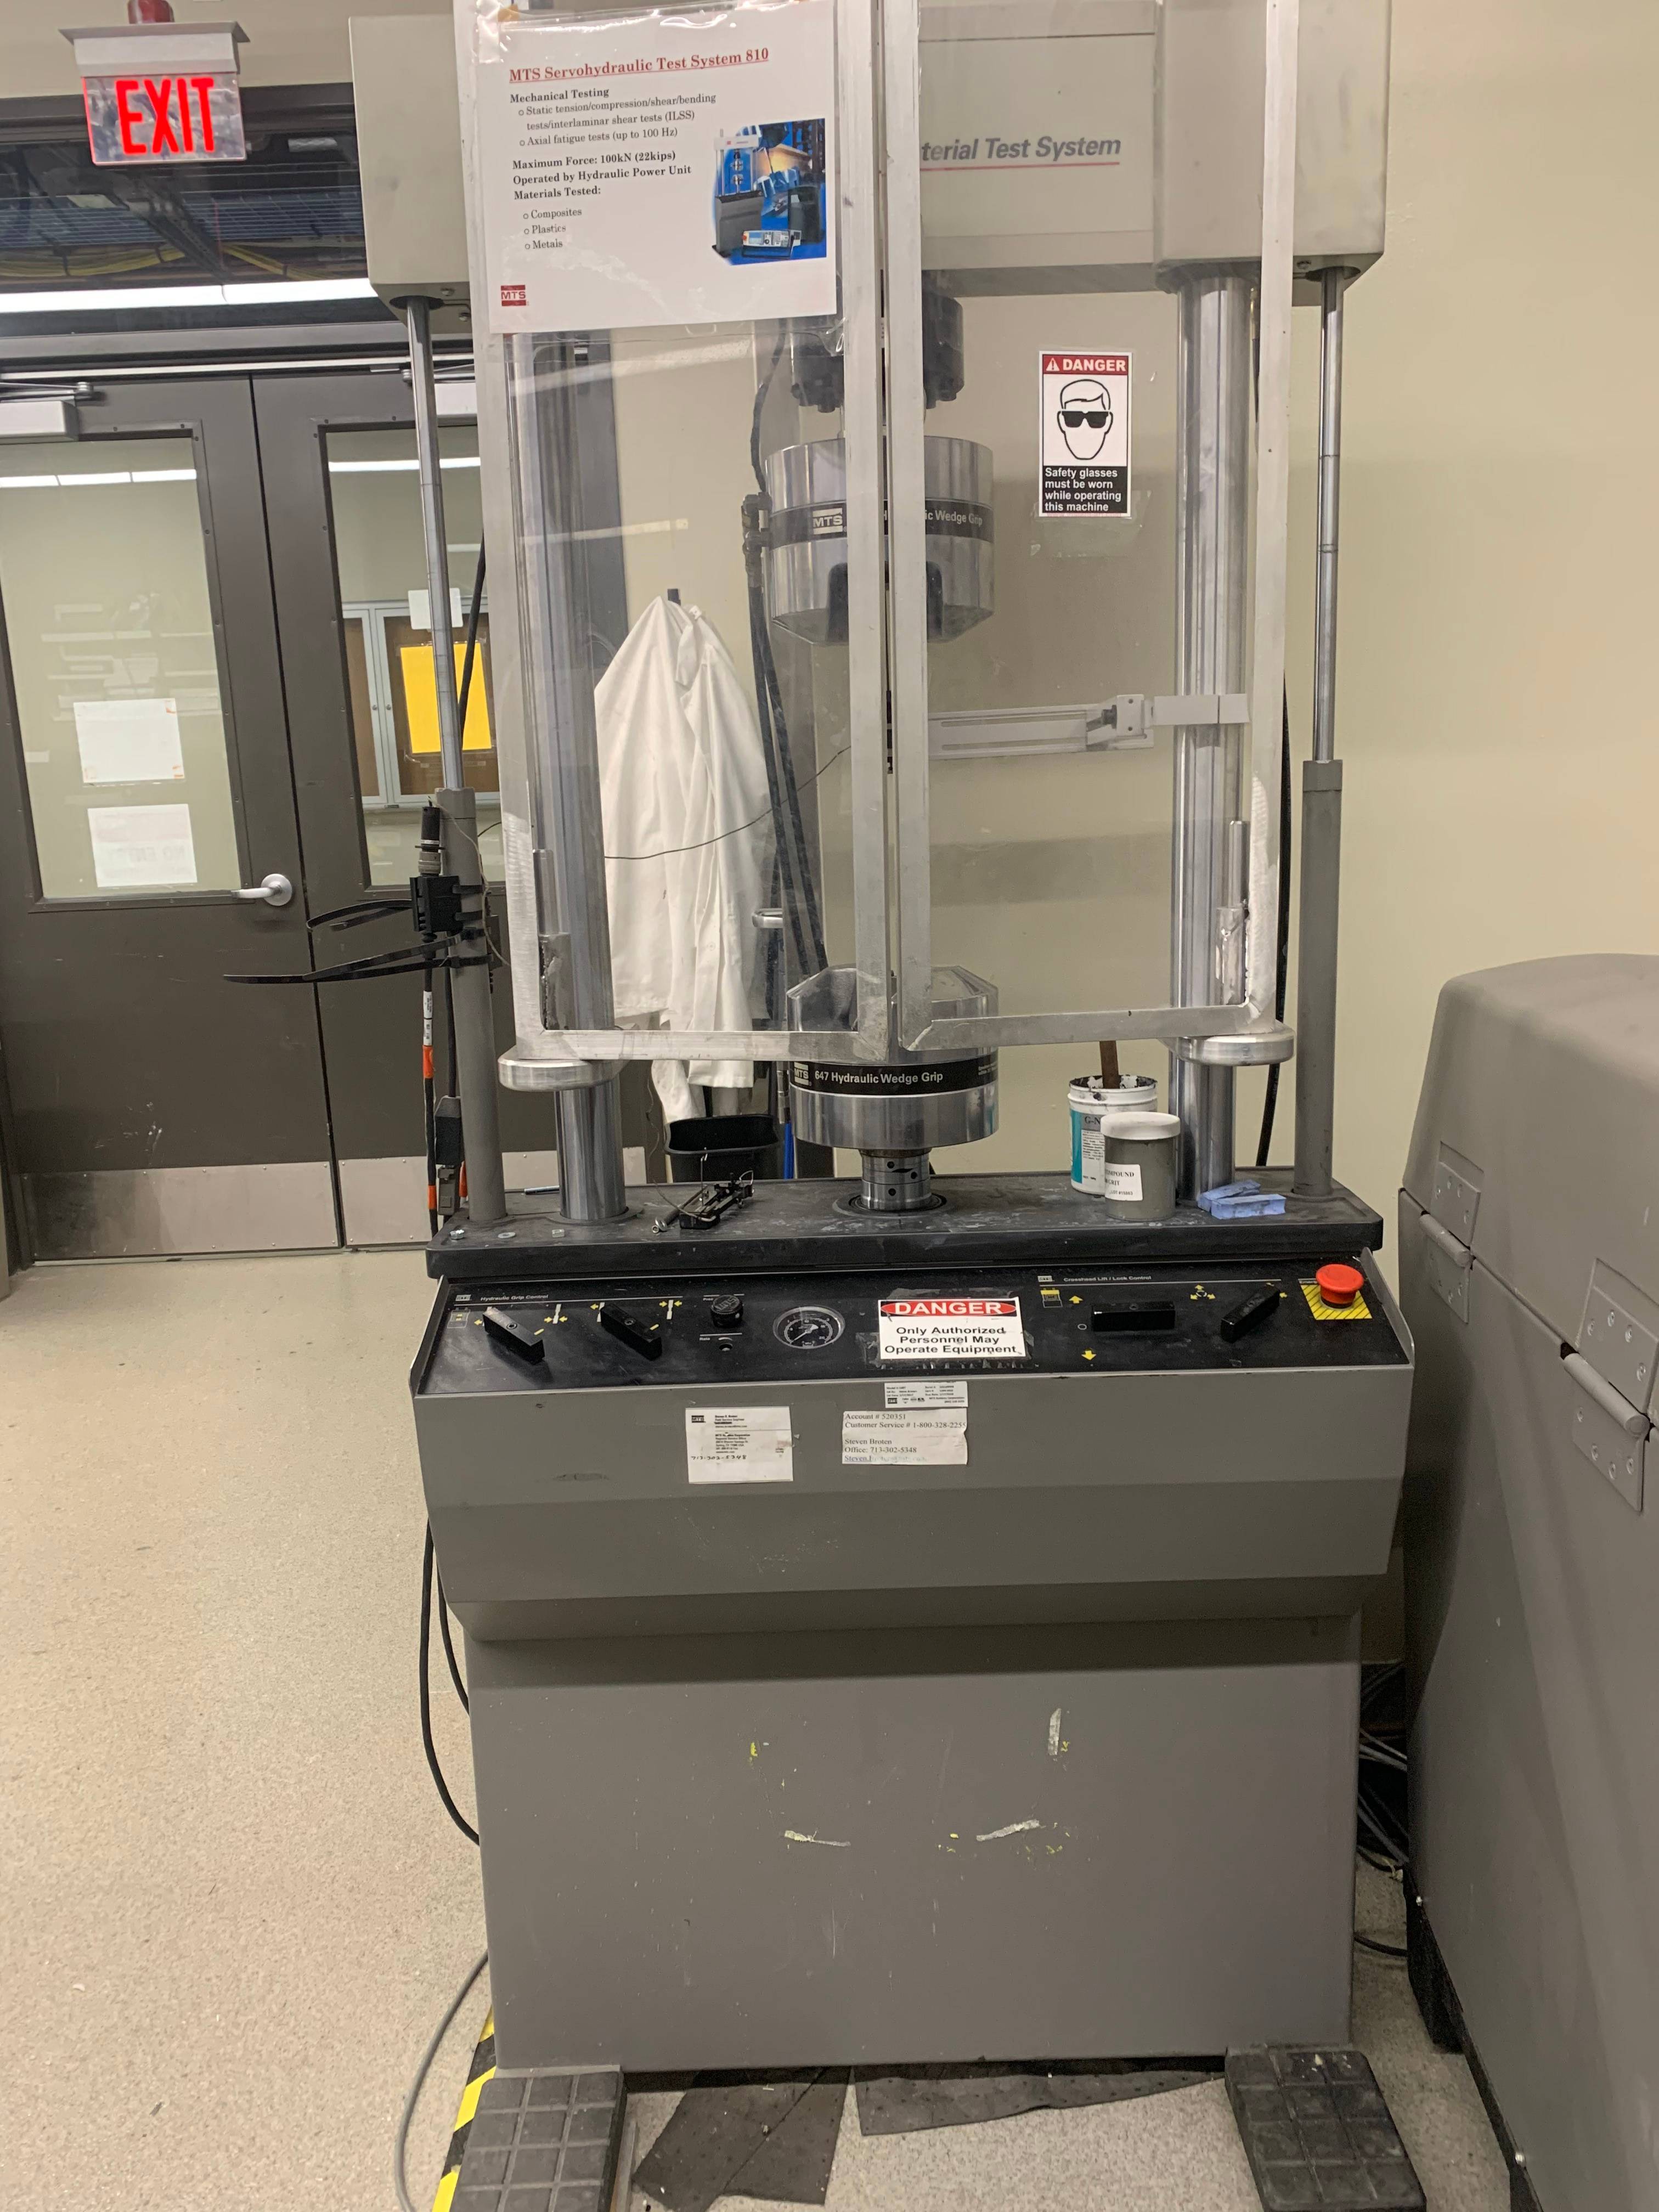
Servohydraulic Material Testing System 810 - MTS 810
Mechanical characterization is performed using the MTS 810. It has a broad array of testing capabilities for both low and high-force static and dynamic testing. By selecting from a variety of force capacities, servo-valve flow ratings, pump capacities, software, and accessories, the floor-standing 810 system can easily be configured to meet your specific material or component testing needs.
Specifications:
- Force capacity (maximum) - 100 kN (22 kip)
- A wide performance range
- Tests materials ranging in strength from plastics to aluminum, composites, and steel
- A large test space to accommodate standard, medium, and large size specimens, grips, fixtures, and environmental subsystem
- The capability to perform a wide variety of test types from tensile to high cycle fatigue, fracture mechanics, and durability of components
Thermal Properties
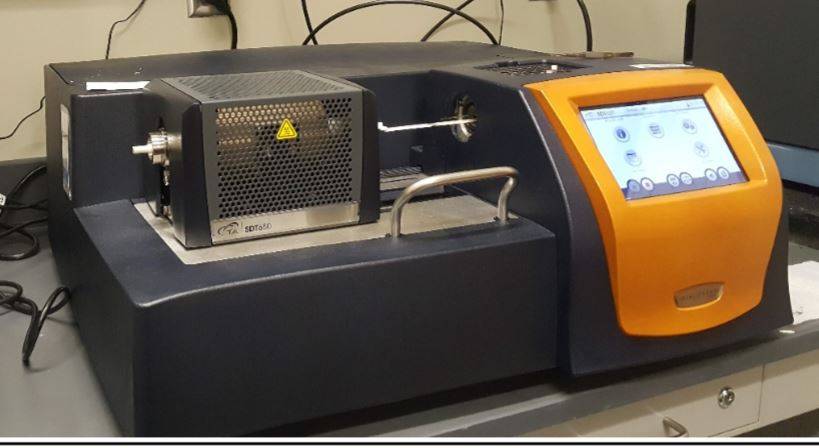
Discovery SDT 650 for Differential Scanning Calorimetry and Thermogravimetric Analysis
The SDT 650 allows studying the change in transitions of a polymer under conditions of controlled temperature, time, and atmosphere. It has a dual horizontal beam design for superior heat flow and weight measurements to analyze two materials simultaneously. The SDT 650 uses TRIOS software for instrument control, data analysis, and reporting. It is a high-performance, ease-of-use device that is reliable and can be used in a wide variety of applications, including glass transition temperature, heat capacity, weight Loss, crystallization transition temperature, melt transition temperature, and stress relaxation analysis among others.
Specifications:
- Temperature Range (max): Ambient to 1500ºC
- Temperature Precision: ±0.5ºC
- Heating rate (linear): 0.1 to 100ºC/min
- Calorimetric Accuracy/ Precision: +/- 2%
- Heat capacity accuracy: +/- 5%
- Sample weight accuracy: 200 mg
- Weighing accuracy: +/-0.5%
- Weighing Precision: +/-0.1%
- Vacuum:50 μTorr
TMA Q400 - Thermomechanical Analyzer
A thermomechanical analyzer measures sample dimensional changes under controlled temperature, time, force, and atmosphere conditions. It is a high performance, ease-of-use device that is reliable and can be employed in a wide variety of applications, including:
Shrinkage Force Testing
Fil Tensile Testing
Fiber Stress/Strain Measurements
Thermal Stress Analysis of Fibers
Creep Analysis
Stress Relaxation Analysis
Viscoelastic Property Determination - Dynamic TMA
Separation Overlapping Transition - Modulated TMA
Microscopy
Leica Z16 APO A - Optical Microscope
The Leica Z16 APO A allows analysis of materials. We also have a digital microscope/camera, Dino-Lite AM 313. These easy-to-use instruments allow the taking of pictures and videos before, during, and after mechanical tests.
Flammability
Mass Loss Calorimeter
Provides an inexpensive stand-alone instrument that enables mass loss rates to be determined at any heat flux in the range of the cone calorimeter model of ISO 5660
- Provides a unit that can be added to commercial cone calorimeters so that they can be used in oxygen-depleted low flow atmospheres
- It is readily fitted to existing or future build oxygen depletion systems
- It is readily converted to dynamic smoke, corrosion, and toxicity tests.
Relationship between heat release and mass loss:
The heat of combustion is the quantity of heat released when the unit quantity of fuel is fully oxidized. These are determined using an oxygen bomb calorimeter and are well-reported in handbooks. If all fires involved complete oxidation, then the heat released could be determined simply by weighing the sample as it burns and multiplying the mass loss by the heat of combustion. In reality, combustion does not usually proceed to complete oxidation, but the effective heat of combustion is constant for a given material when burnt at a given heat flux under constant ventilation conditions. Instruments such as the cone calorimeter and the OSU determine the effective heat of combustion. Heat release is then determined as a product of the effective heat of combustion and the mass-loss rate. Once the effective heat of combustion is known for material over a range of conditions the heat release rates can be calculated from mass loss data. The FTT mass loss calorimeter is designed for this purpose.
Thermal Imaging
Raz-IR NANO Thermal Imaging Camera
The Advanced Composites Lab is equipped with a Raz-IR NANO thermal imaging camera that is capable of 60hz real-time thermal imaging. In addition, the Raz-IR is capable of producing thermal videos that can be used to observe the thermal properties of materials at their fracture points. It records temperatures ranging from -20 to 250+ ºC and holds a spectral range of 8-14µm long wavelengths. It also includes a variable emissivity that ranges from .01 to .99 to ensure quality results.
Electrical Resistance
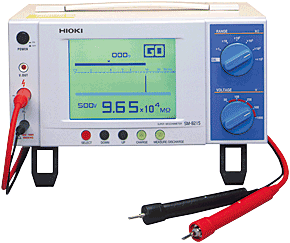
Hioki Super Megaohmmeter SM-8215
The Hioki Super Megaohmmeter SM-8215 is capable of measuring volume resistance from 0.25 - 2E13 Ω. Voltage range is 50 - 1000 V DC.
The SM-8215 is paired with the SME-8350 Shielding Box and SME-8320 Weight Electrode.
The SME-8350 is used as a sample accommodation box during measurement of a high-insulation resistance samples, or inductive or capacitive samples to perform electromagnetic shielding. It is particularly useful when high insulation resistance cannot be properly measured due to effects from noise and induction hum in the measuring environment.
The SME-8320 is a plate sample surface resistance measurement electrode consisting of the main electrode, counter electrode, and positioning jig. This electrode enables extremely easy measurement of surface resistivity and volume resistance. The main electrode dia. is 50mm, and the ring electrode inner-dia. and outer-dia. are 70mm and 80mm respectively.
Rheological and Processing Characteristics
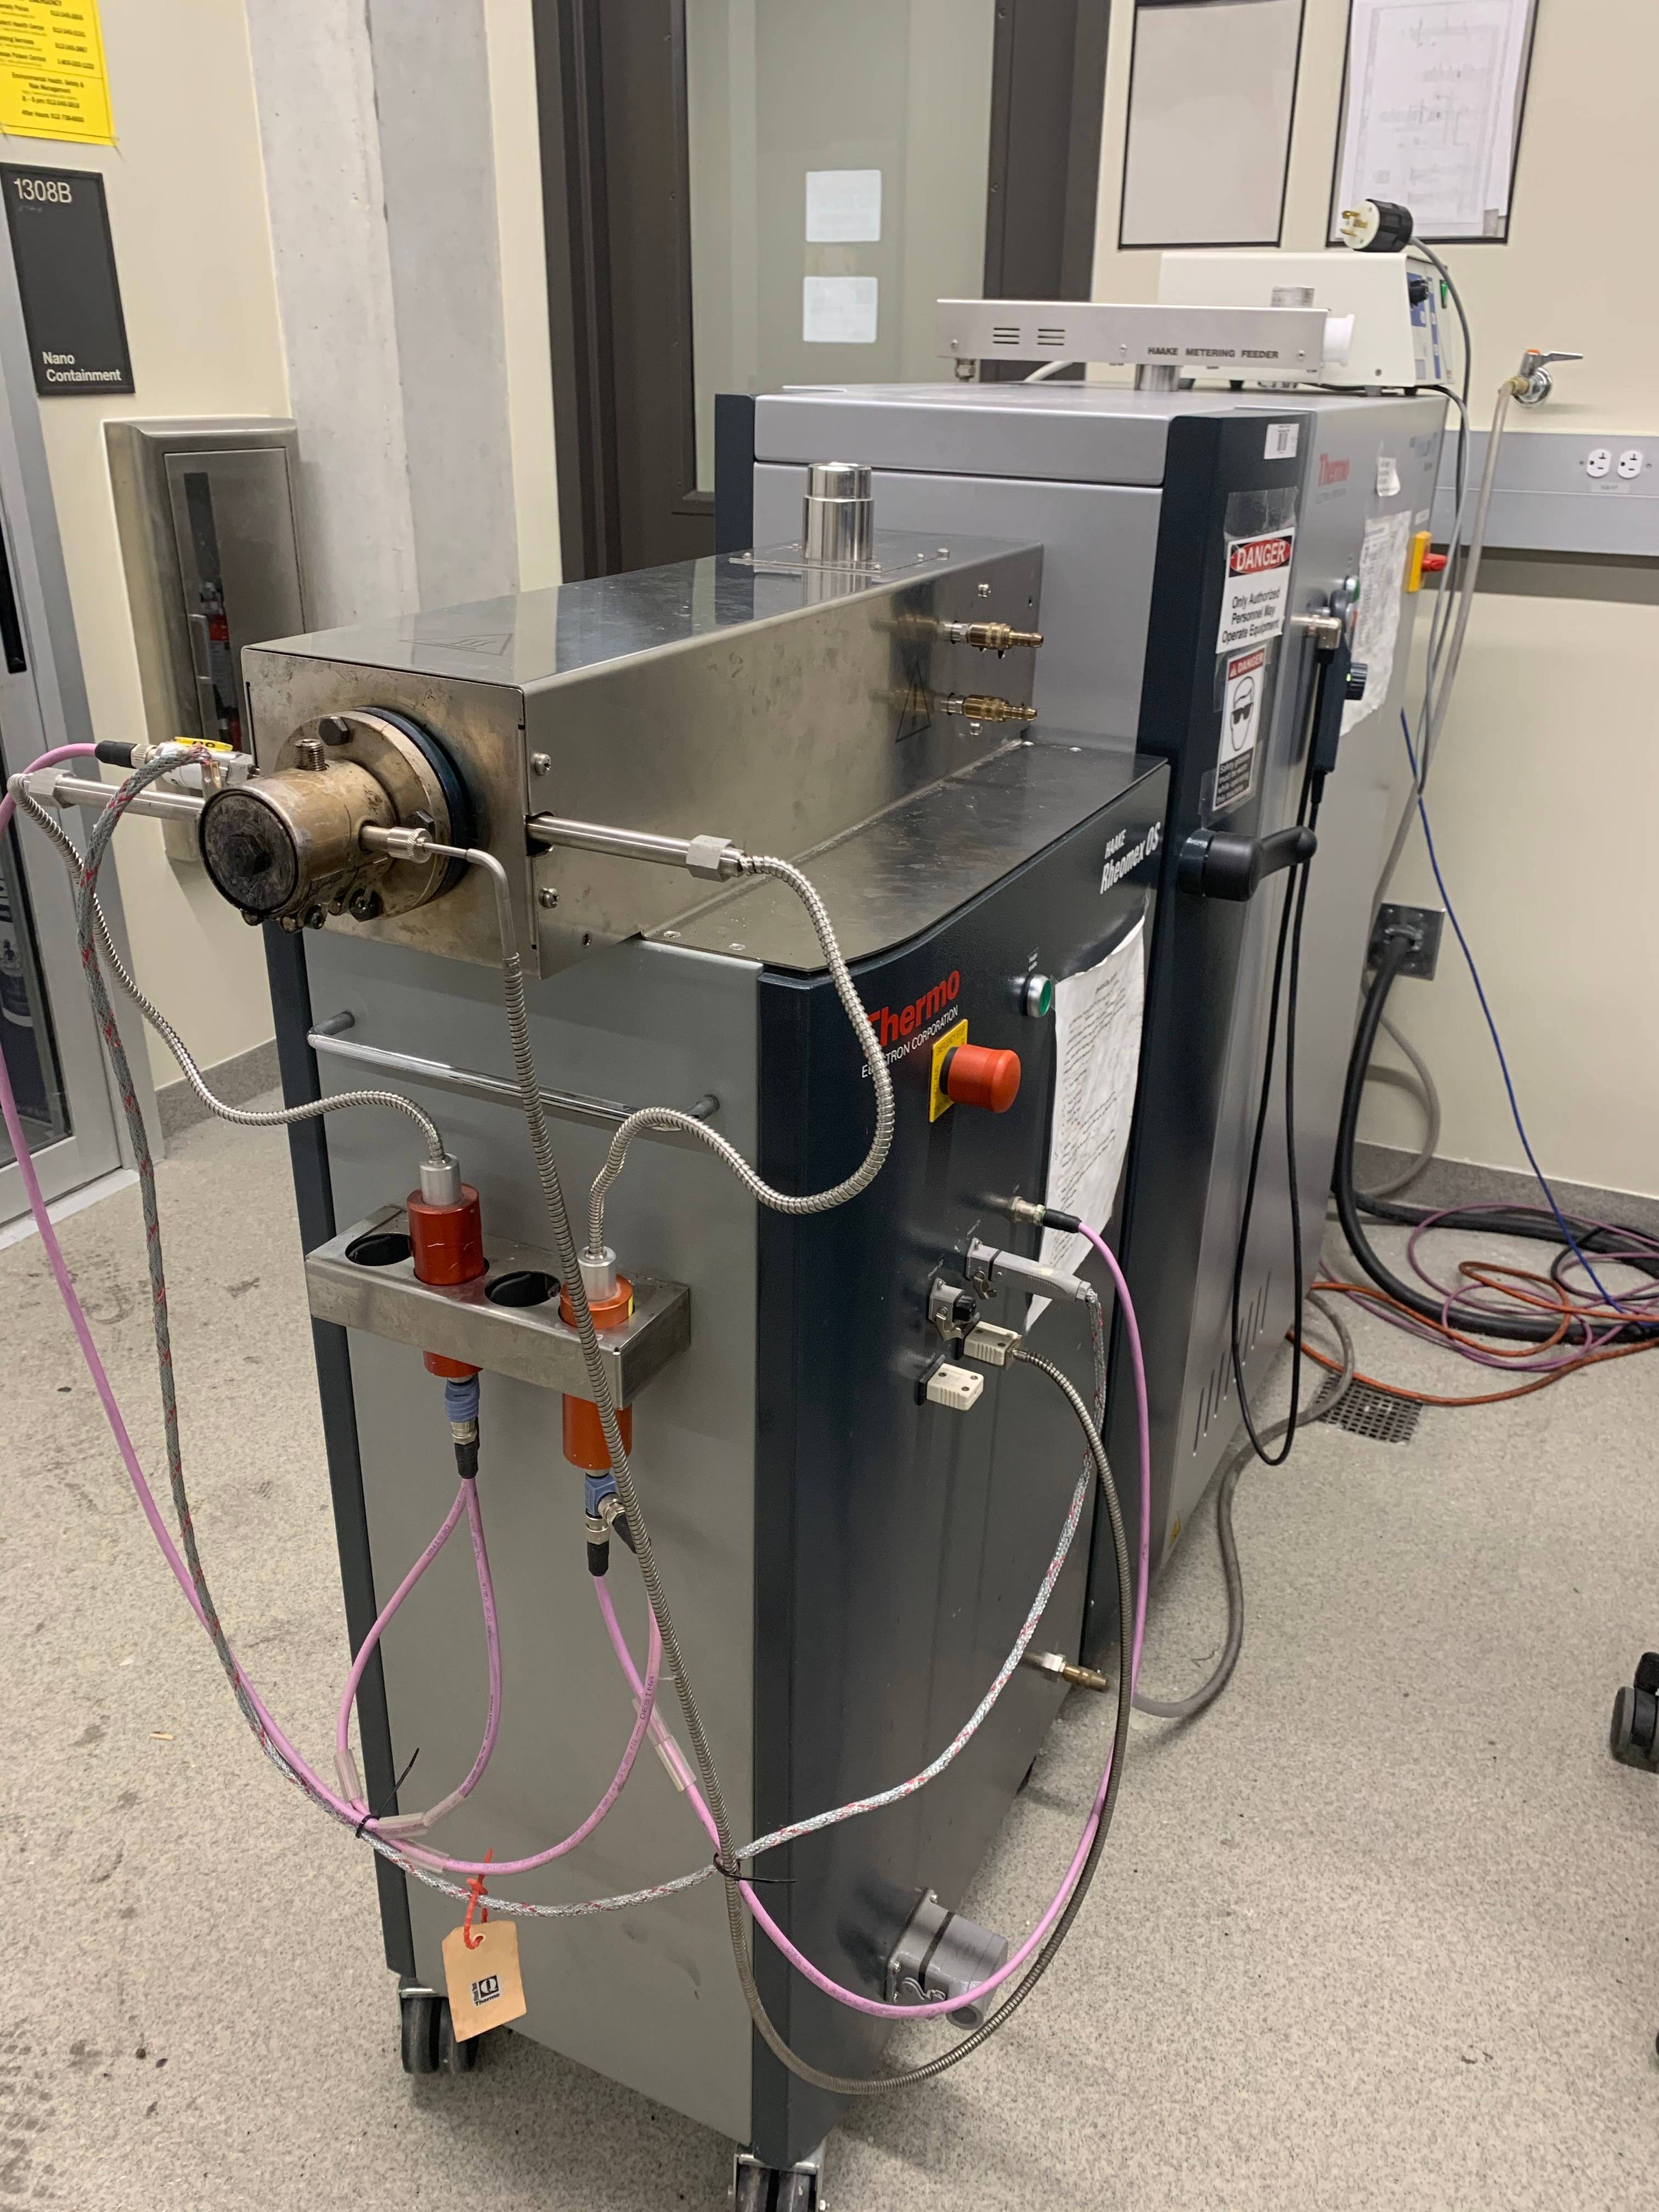
Haake Polylab Single Screw Extruder & HAAKE Rheomex 19/25 OS
Specifications:
- Screw Diameter: 19.05 mm
- Extruder Length: L/D 20
- Feeding: Hopper
Screw plastification is the most common method of processing plastics, rubber, food packaging, and ceramic materials. Rheomex controls data administration and communication with a master unit. Mobile measuring sensors avoid the necessity of handling heavy and hot parts. Integrated heating and cooling circuits reduce the number of plug connections. Several peripheral units, such as feeding and post-extrusion units, are computer-controllable, allowing better reproducibility and documentation. This simplifies handling in the laboratory and enables secure operation. The extruder tool enables analysis of rheological and processing characteristics of many materials.
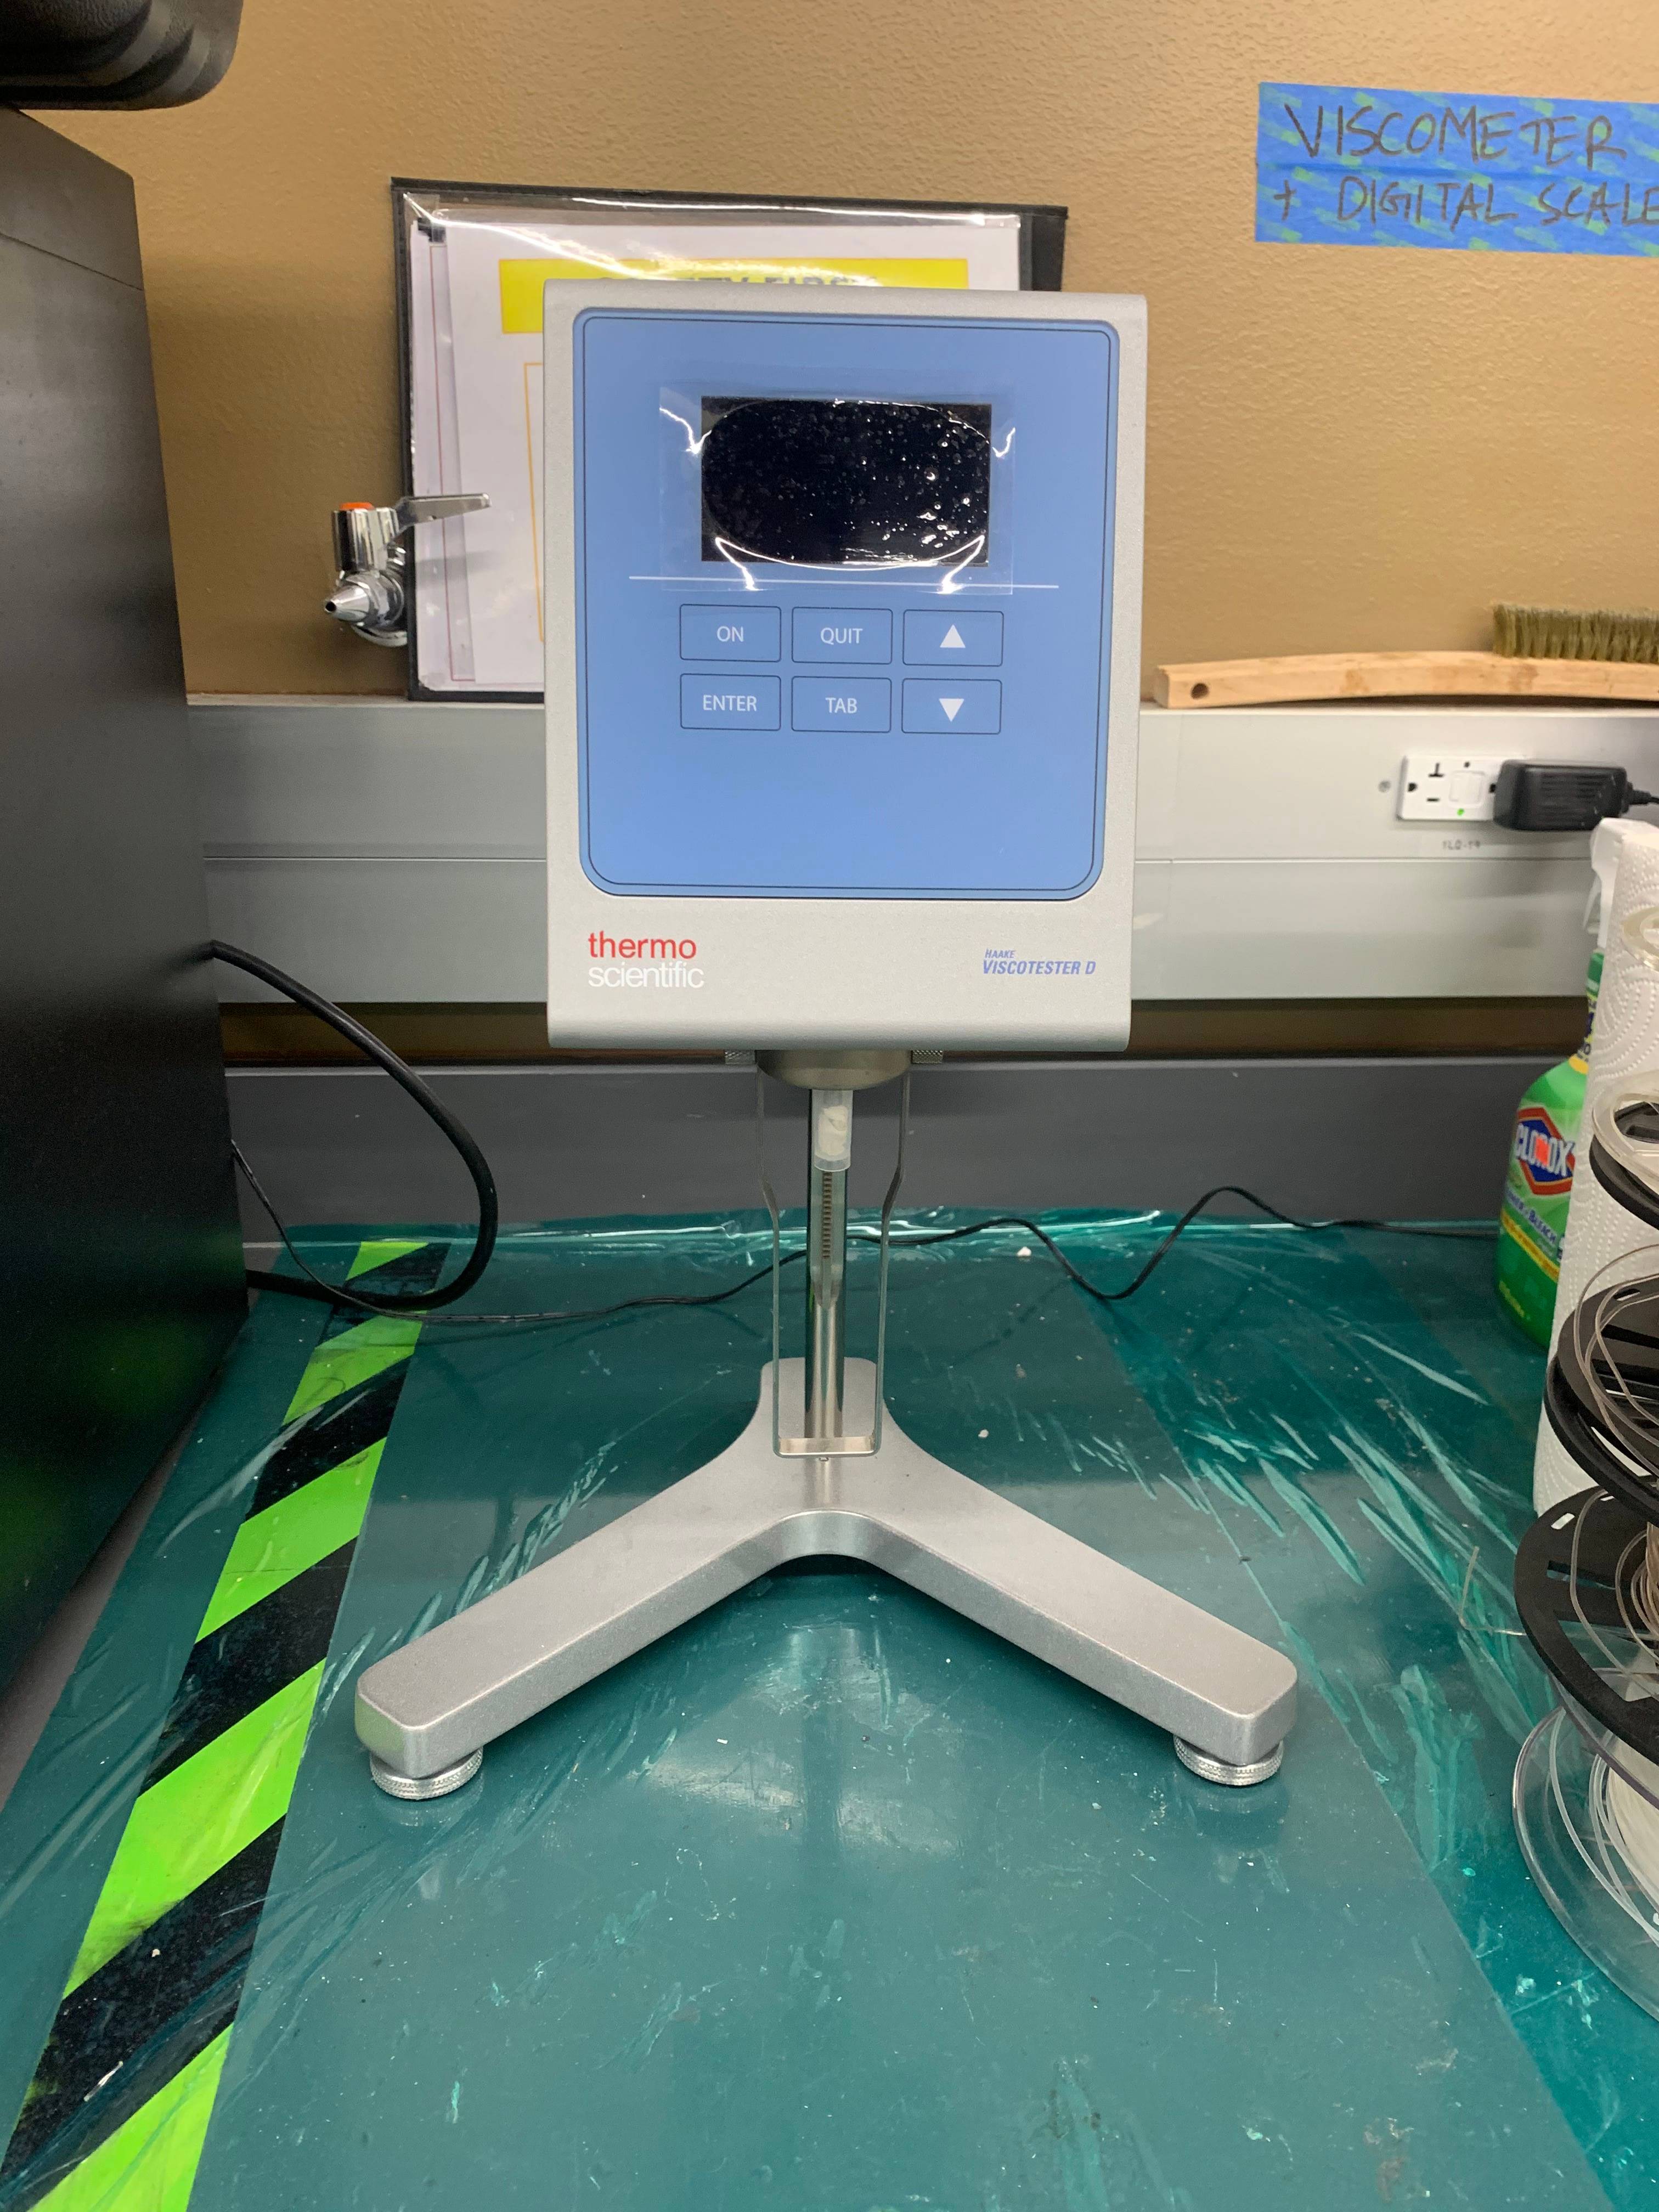
Viscosity
Rotational Haake Viscometer 7
Viscosity is a measure of the resistance of a fluid that is being deformed by either shear stress or tensile stress. Viscosity and viscoelastic behavior of resins are very critical in composites manufacturing. Our lab is equipped with a classic rotational viscometer for a fast determination of viscosity as defined in ISO 2555 and ASTM standards. For the determination of the rheological properties of a substance, the measuring range can be changed by using a different speed or by a change of the spindle. The selection depends on the standard to be followed.
SOP: SOP-Viscometer.pdf
Impact Testing
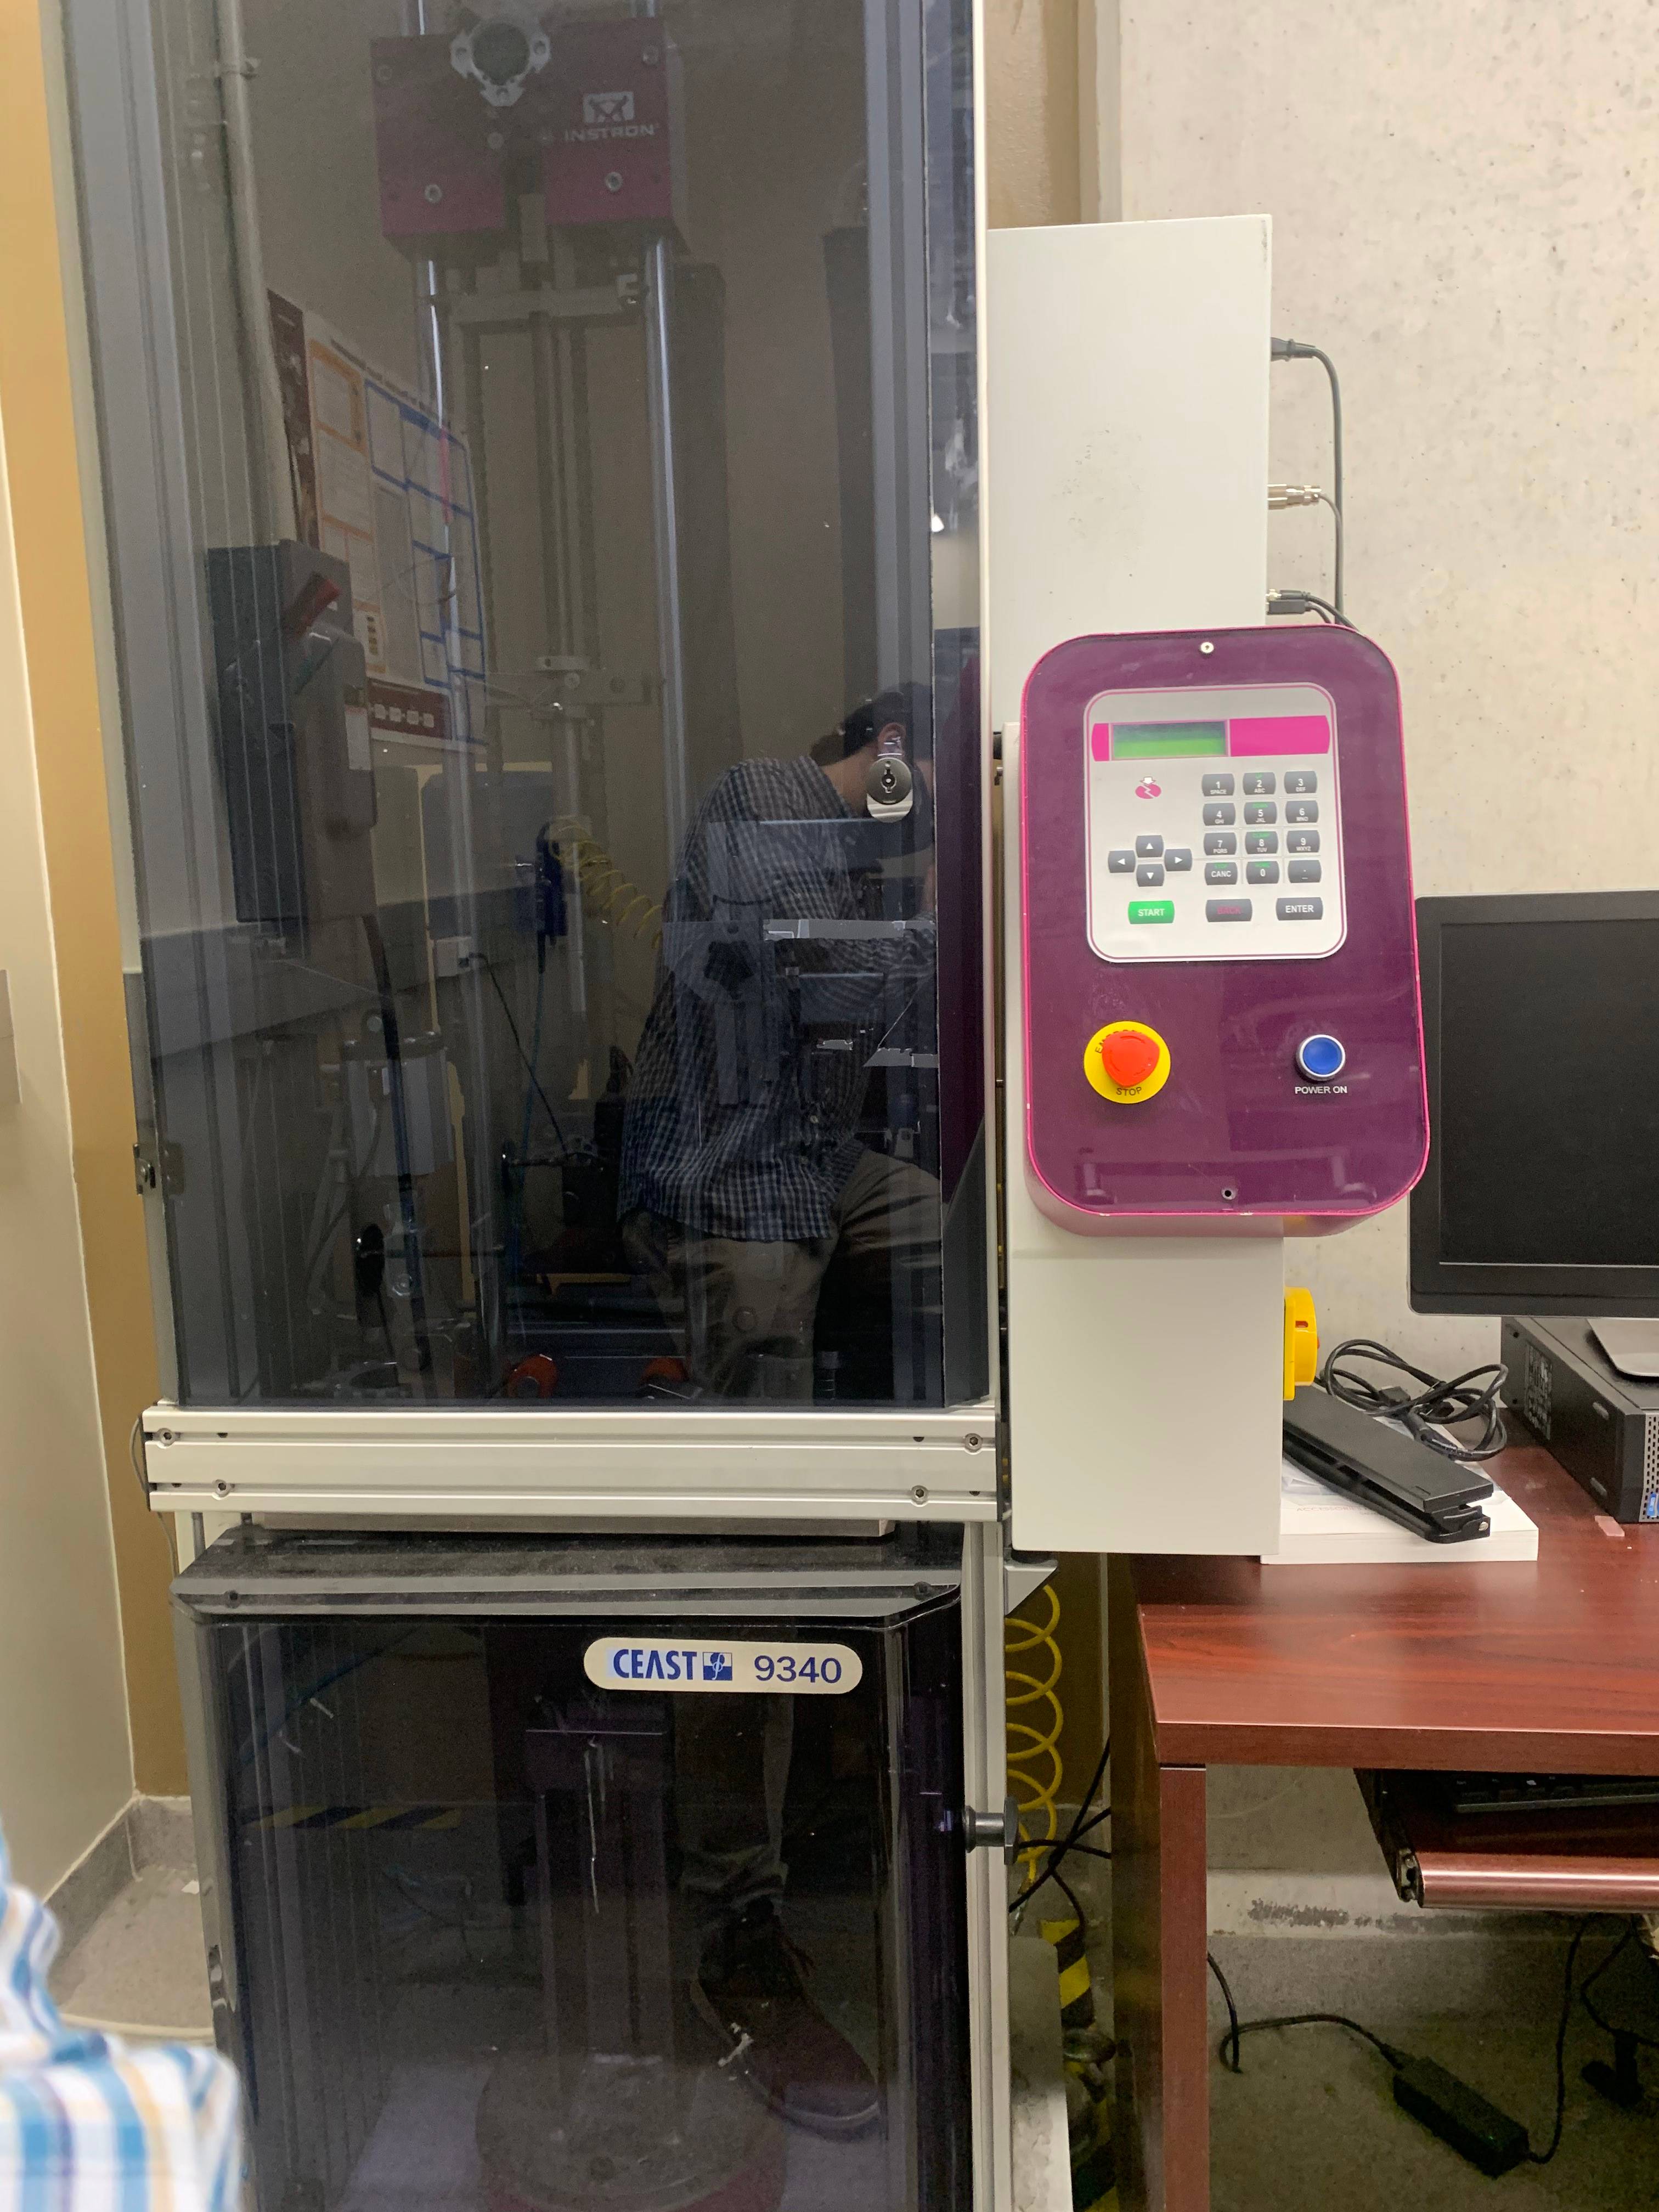
Instron CEAST 9340 - Low-Velocity Impact Tester
The CEAST 9340 is a floor standing impact system designed to deliver 0.30 - 405 J (0.22 - 299 ft-lb) of energy. The CEAST 9340 is suitable for a range of impact applications including tensile impact, penetration tests on plates and films, Izod, and Charpy tests.
Specifications:
-
Fully enclosed and interlocked test area
-
Various support fixtures enable users to test a wide range of specimens and components
-
A motorized crosshead positioning system
-
Changeable tubs and inserts
-
Full set of weights to deliver a wide range of impact energies
